

Submitted by lan on Wed, 05/02/2012 - 13:40
Single Sign-on for Office365 with Forefront TMG
In my first contribution to the Forefront Security blog, I will explain how to extend the Office 365 single sign-on experience to remote users by publishing ADFS 2.0 with Forefront TMG.
(Single sign-on allows users to use their corporate (Active Directory) user ID and password in order to access Office 365 services located in the cloud).
With this advanced deployment option, Forefront TMG is used in preference to a Federation Server Proxy.
LAB Overview
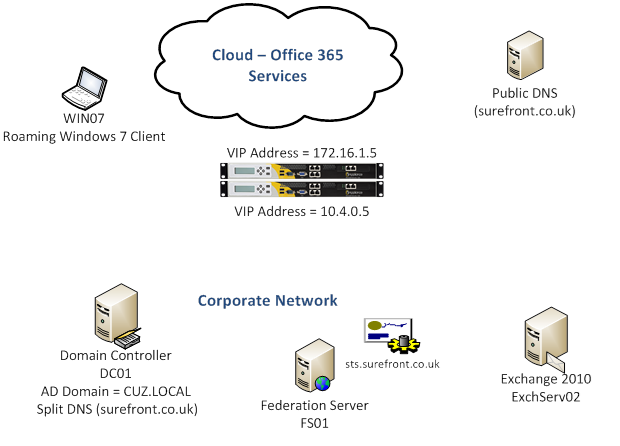
- The corporate domain (SUREFRONT.CO.UK) has been added to Office 365.
- Active Directory Federation Services (ADFS) 2.0 has been deployed on premises and single sign-on enabled.
- Active Directory information is synchronised to Office 365.
- Exchange is operating in hybrid-mode (some user mailboxes are in the cloud while others remain on-premises).
- Two nTMG enterprise appliances are configured as a standalone array. Forefront TMG integrated Network Load Balancing (NLB) is enabled.
Testing single sign-on
To verify that single sign-on is functioning properly, we access the Microsoft Online portal from a computer located within the corporate network.
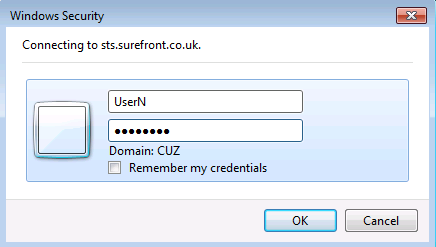
The test is successful as the user can login using corporate credentials.
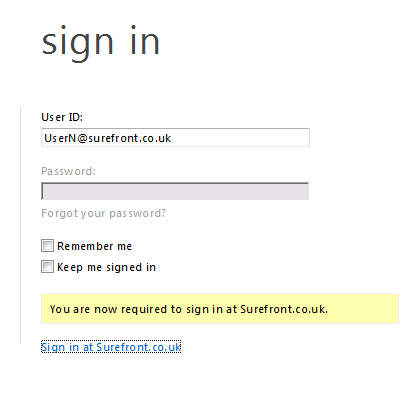
Now, if we move the computer off-premises and attempt to login, we receive this error:
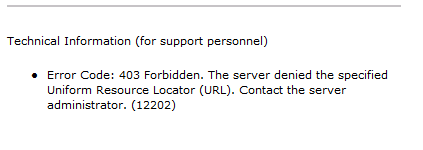
This is expected because, at this point, the remote client has no means of reaching the on-premises ADFS 2.0 Federation service.
Configure TMG to publish ADFS 2.0
- Create a DNS record
- Install a server certificate
- Configure a Web listener
- Configure ADFS publishing rule
Step 1 – Create a DNS record
Add a host (A) record to the public facing DNS zone. This record should match the Federation service name and point to the TMG array’s external IP address:
STS.SUREFRONT.CO.UK A 172.16.1.5
Step 2 – Install a server certificate
The certificate’s common (or SAN) name must match the DNS record. As our TMG array is used to publish various Web services, a SAN certificate will allow us to use a single listener.
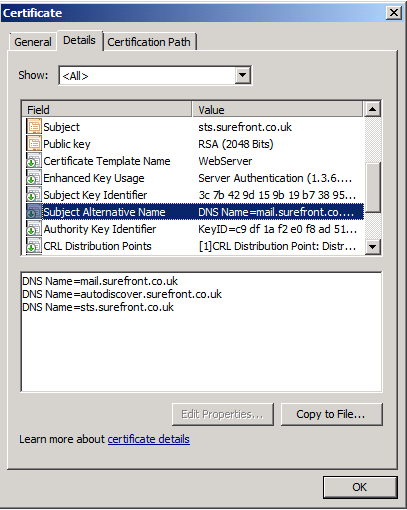
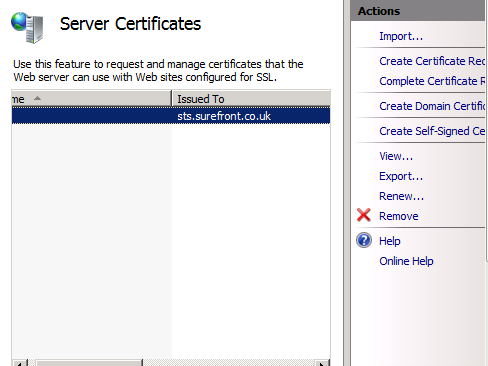
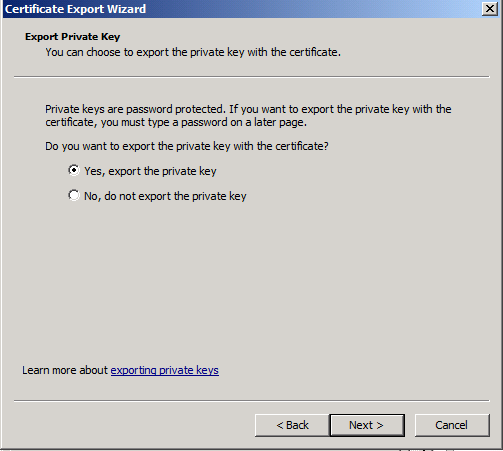
As part of the ADFS 2.0 service deployment we already assigned a certificate, issued by a commercial certification authority (CA), so we can simply export this from the ADFS server to a file and then import it to each TMG server. On the ADFS server computer, locate the certificate in IIS and select Export from the Action menu.
Be sure to include the private key.
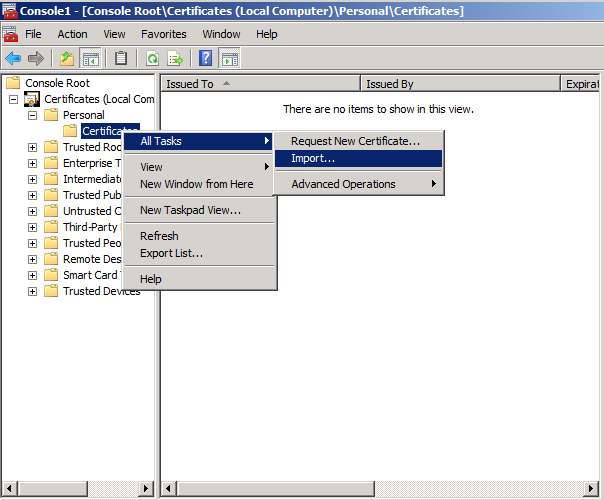
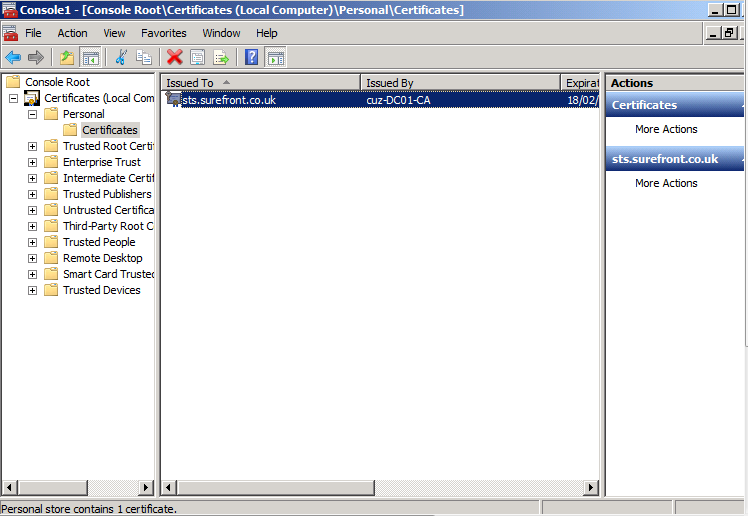
Next, import the certificate to each TMG server using the Certificates MMC.
Step 3 – Configure a Web Listener
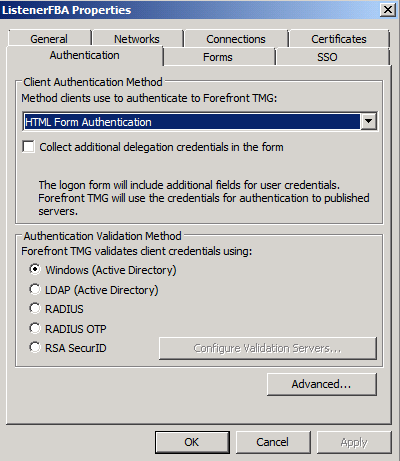
The Web listener should be configured so that pre-authentication is not enforced by TMG. This is achieved either by setting No Authentication as the listener’s client authentication method, or by assigning the ADFS publishing rule to All Users. In our lab scenario, TMG already provides access to other services which require HTML Form Authentication. Therefore, by configuring our ADFS publishing rule for All Users (see Step 4), we will be able to utilise the existing listener.
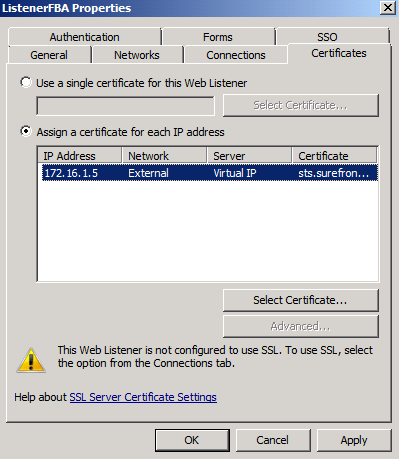
Assign the certificate (imported in Step2) to the TMG array’s external virtual IP address.
Step 4 – Configure ADFS publishing rule
In the Forefront TMG management console, select the Firewall Policy node and, on the Tasks tab, select Publish Web Sites to launch the wizard.
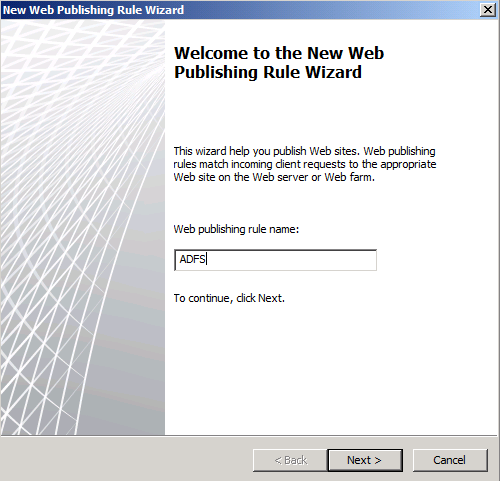
Click Next on the Select Rule Action page.
Click Next on the Publishing Type page.
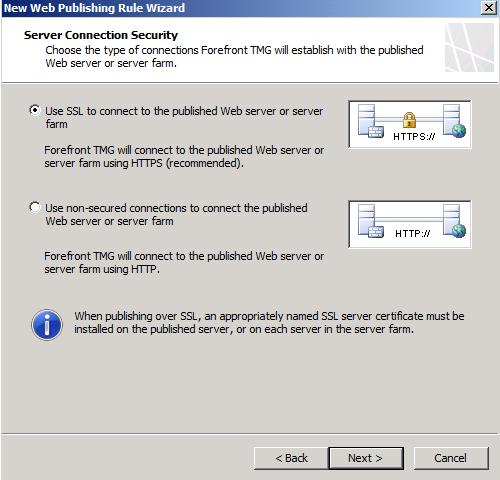
On the Server Connection Security page, select Use SSL to connect to the published server.
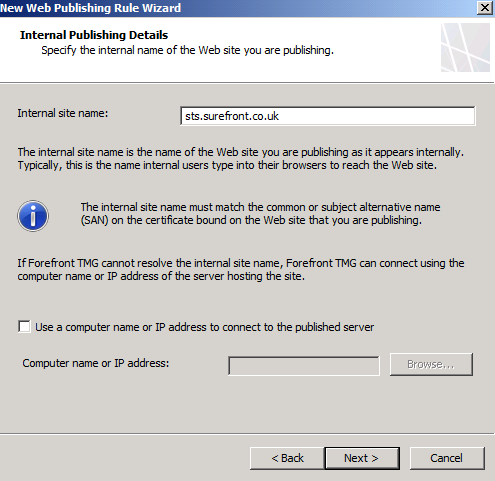
On the Internal Publishing Details page, type the internal site name for the ADFS server (this name should match that of the SSL certificate assigned to the ADFS service).
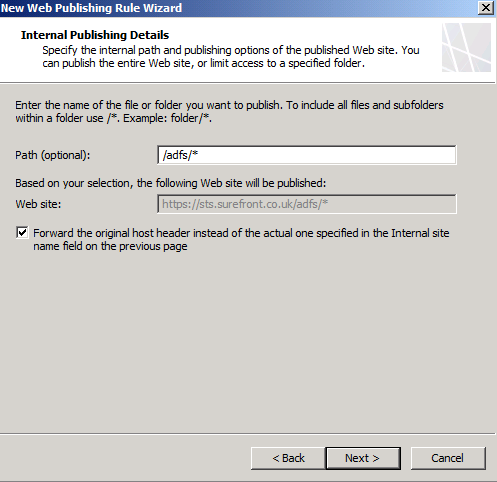
Click Next, type /ADFS/* in the path field and select the checkbox to Forward the original host header….
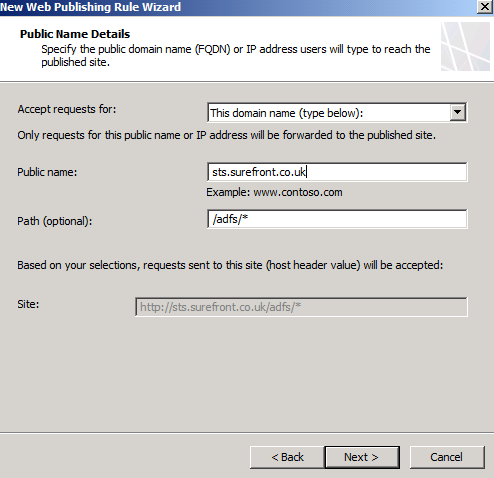
On the Public Name Details page, type in the name used to access ADFS from the Internet.
On the Select Web Listener page, either select an existing listener or click New to create a new one. In our example, we’ll use the same listener currently used to publish on-premises Exchange Services.

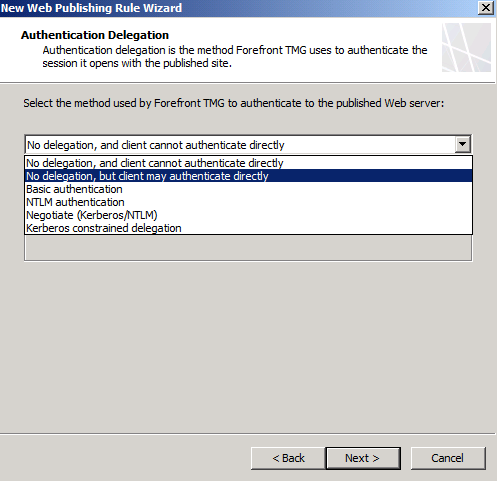
On the Authentication Delegation page, select the option: No delegation but client may authenticate directly.
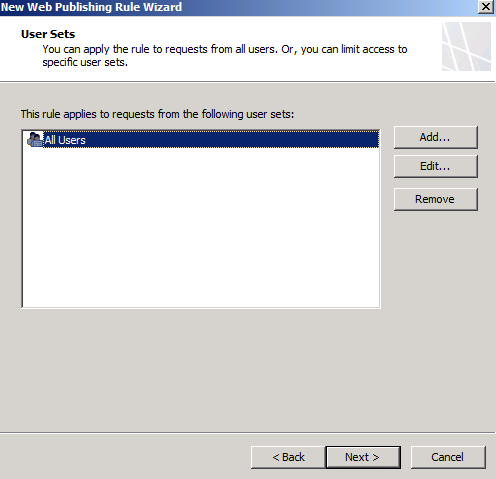
On the User Sets page, select All Users only.
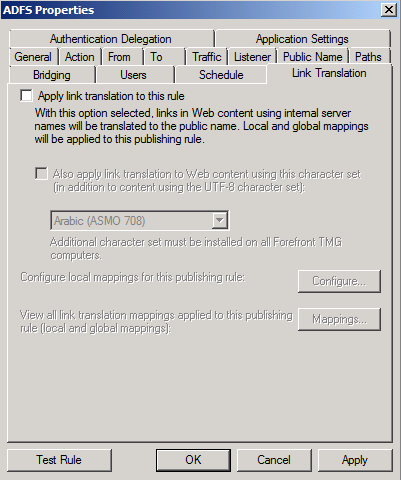
After completing the Web Publishing Rule wizard, locate the new rule and open its properties. On the Link Translation tab, clear the Apply link translation to this rule checkbox and click OK.
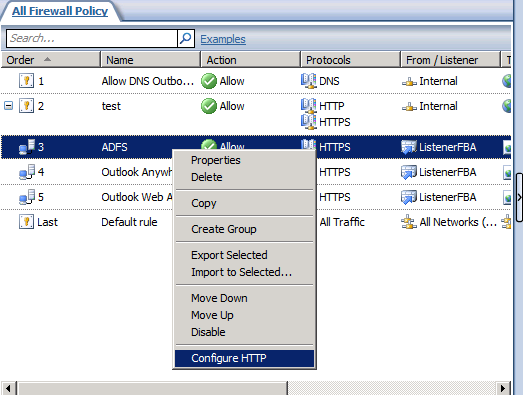
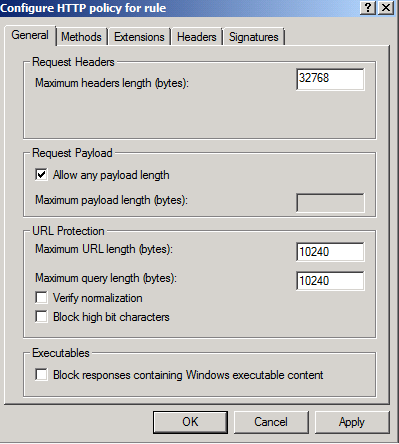
Access the HTTP security filter by right clicking the rule and selecting Configure HTTP.
On the General tab, clear the Verify normalization and Block high bit characters checkboxes.
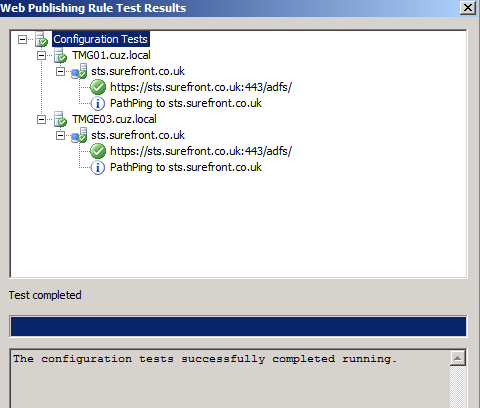
Finally, click the Test Rule button to verify the configuration and, assuming this test is successful, click Apply to write the changes.
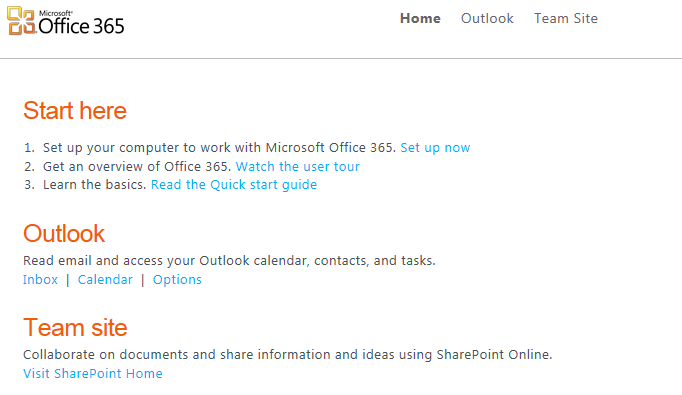
Test single sign-on
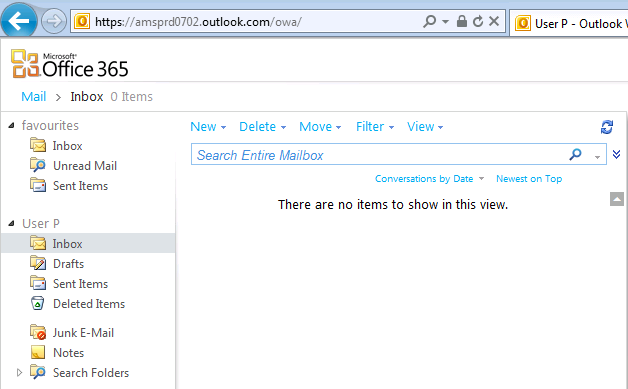
Now, if we return to our external client and attempt to access the Microsoft Online portal, the login is successful and we can access all of the Office 365 offerings.
Category: